Advertise products from FTP on Facebook
1. Log in with your Click2Sync account here
If you don't have a Click2Sync account create one here
2. Connect your FTP serverClick on the "add backend..." drop down and select de option marked as "FTP"
A pop-up asking credentials of your FTP server will appear. Fill in the textboxes and press the "Scan Products" button to start the import of your products
The new pop up window will ask you to map your "Excel" columns. By default we provide a suggested mapping but please change it to match the appropiate information. If you don't want to include a column you can select "ignore".
You will see a notification in the lower right corner indicating that the process is running, wait until you see the notification change to "first time load complete". After it finishes you can view your products on Click2Sync. (Note: The first time load can take a considerable amount of time)
3. Connect your Facebook accountClick on the "add storefront..." drop down and select de option marked as "Facebook ads"
Click2Sync will ask for authorization for "Facebook ads". Click on the "Login to Facebook" button
A pop-up will appear if you are not logged in to Facebook you will have to do it, if you are already logged in click on "Continue as *" button (The "*" represent your first name)
Click in the "Ok" button
Select the page from where you want to post the products and ads, then select the Product Catalog that you want to use. After selecting both options press the "Scan products" button
On the lower right corner you will see a notification indicating that the process is running, wait until you see the notification change to "first time load complete". After it finishes you can view your products on Click2Sync. (Note: The first time load can take a considerable amount of time)
4. Now send the products from FTP to Facebook
Select a product from FTP that you want to import and enter the description page
The product detail page will show up, the tabs marked with a "1" on the image represent the different places that your product is on. In this example(The image) the product is only on "prestashop" and you can add it to the different connections by pressing the tab that is semi transparent representing the connection where you want to add the product.

The new product equivalence for the selected connection is created, information of the product now is in green text, this means the data is going to be added. You can make specific modifications to this version of the product here.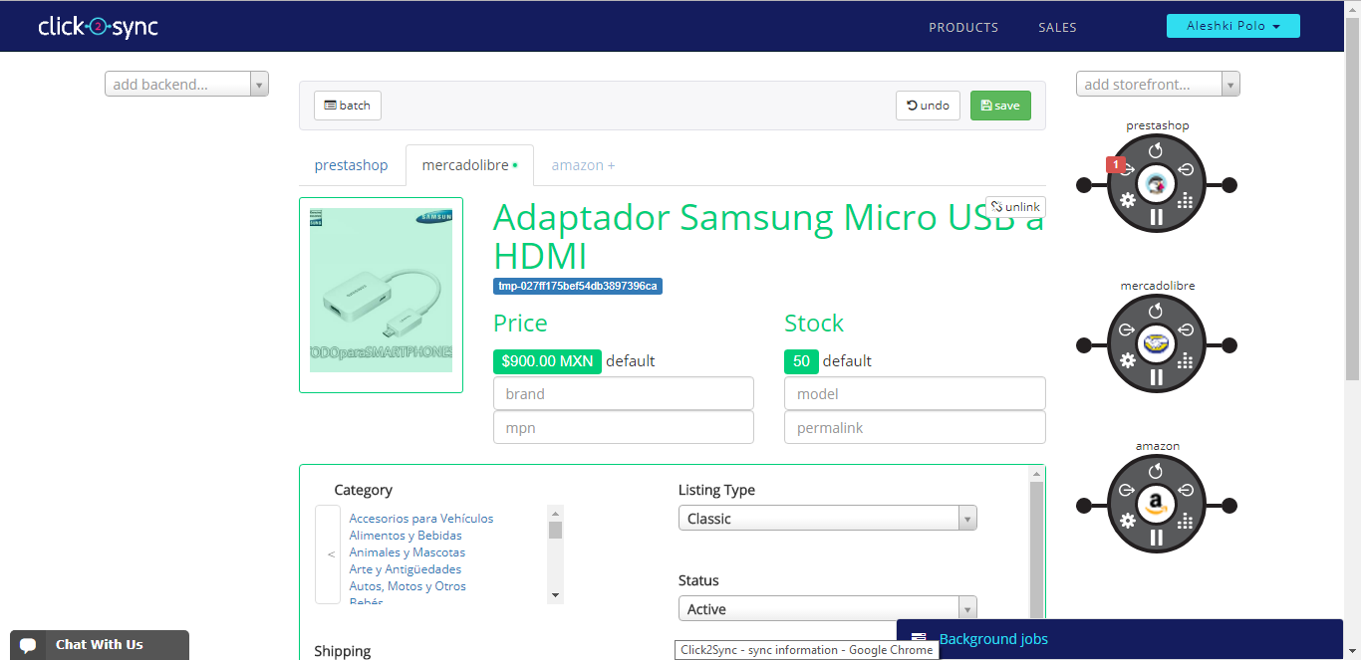
When you are done click on the "save" button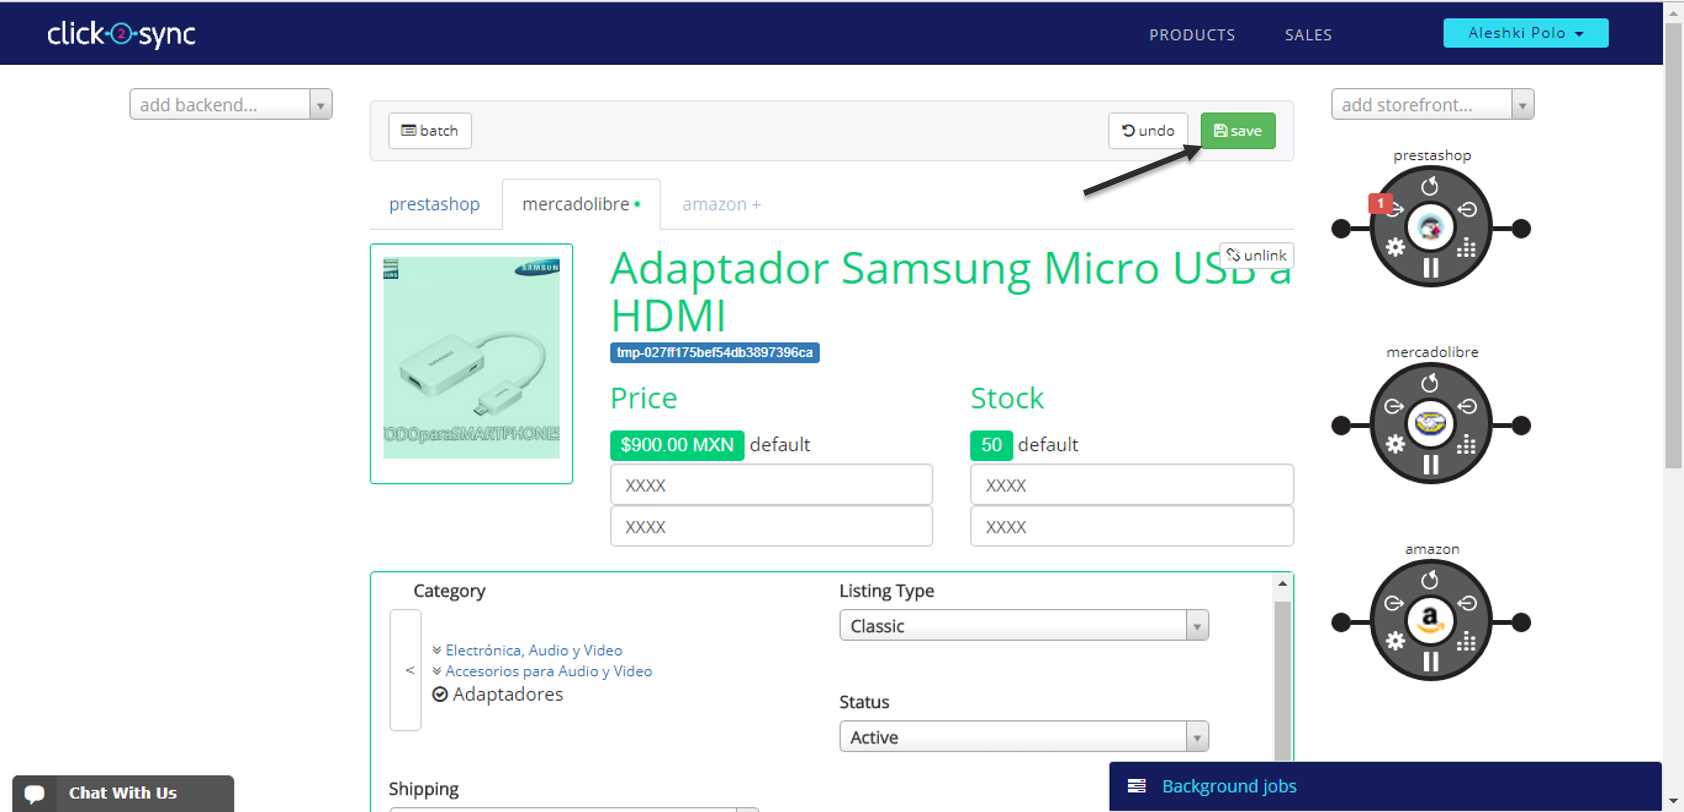
To send the product to your Facebook instance click on the "sync" button