Migrate products from WooCommerce to Zen Cart
1. Log in with your Click2Sync account here
If you don't have a Click2Sync account create one here
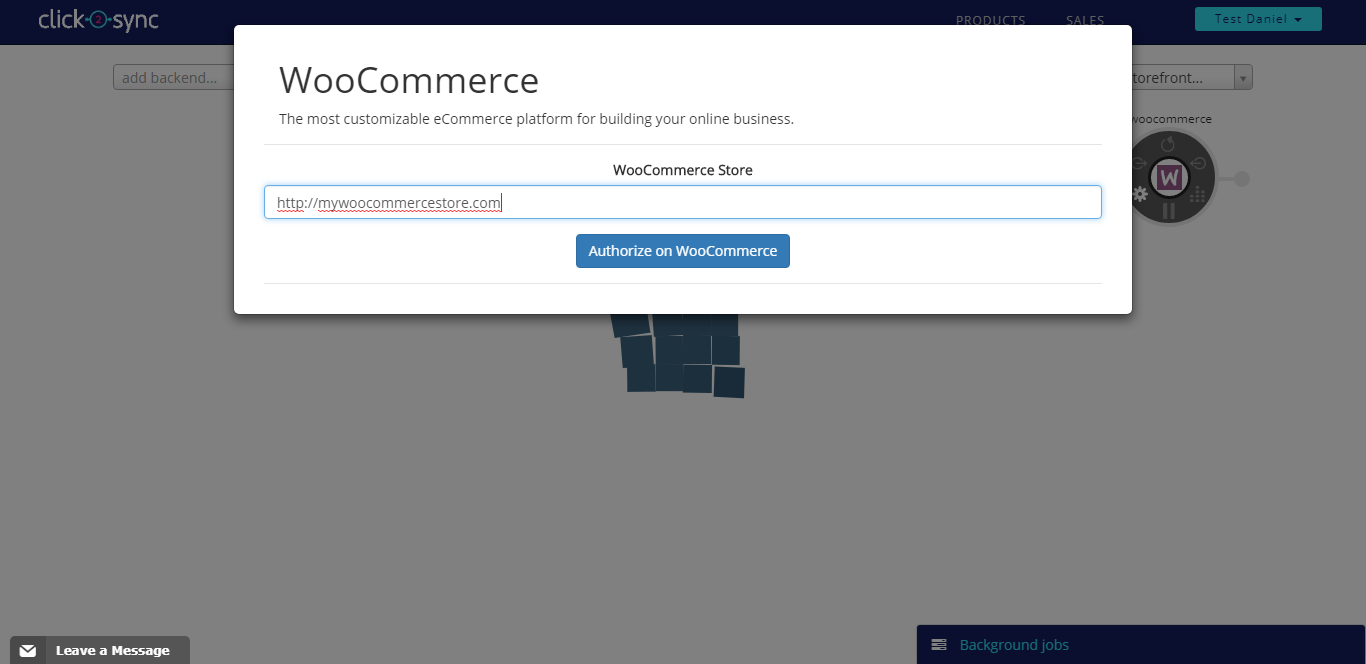
2. Connect your Woocommerce instanceClick on the "add storefront..." drop down and select de option marked as "WooCommerce"
A pop-up asking for the url of your "WooCommerce" shop fill the textbox and press the"Authorize on WooCommerce" button
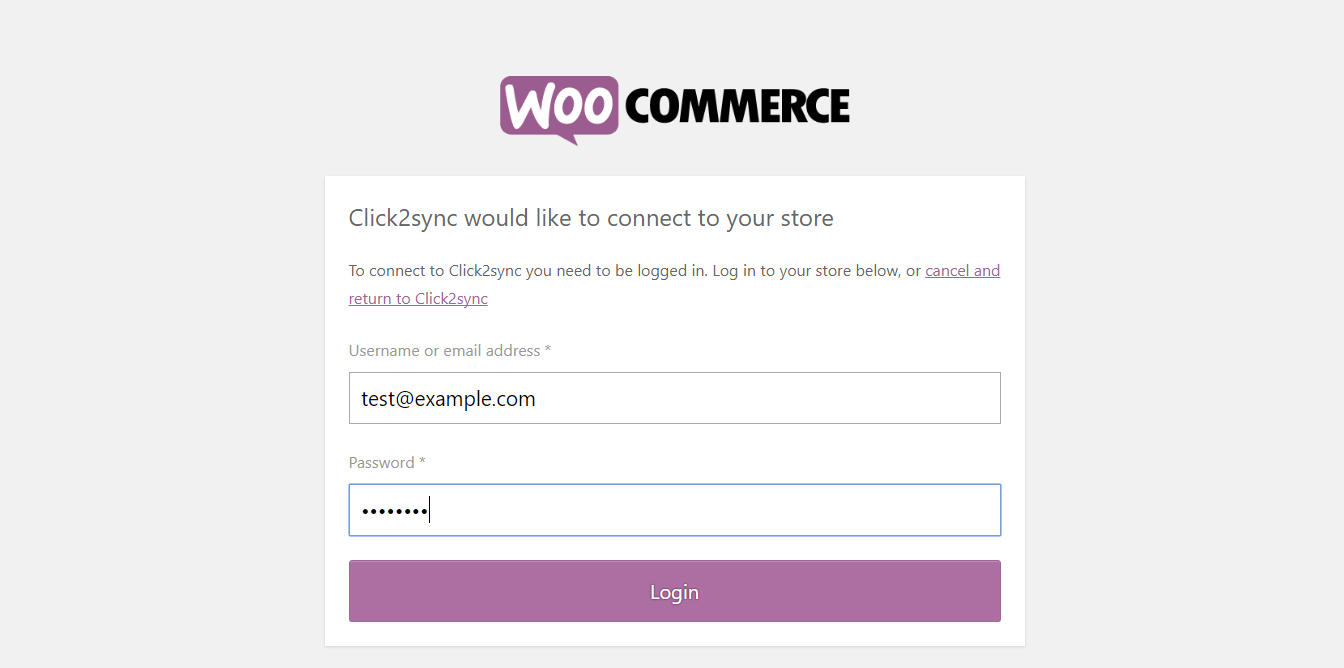
You will be redirected to your WooCommerce page, please log in with your account
WooCommerce will ask if you want to approve Click2Sync, click on "Approve"
You will be redirected to Click2Sync. On the lower right corner you will see a notification indicating that the process is running, wait until you see the notification change to "first time load complete". After it finishes you can view your products on Click2Sync. (Note: The first time load can take a considerable amount of time)
This steps assume you already developed your custom integration to our API, if you want to know more about how to integrate to Click2Sync click here.
Click on the "add storefront..." drop down and select de option marked as "Custom"
A pop-up asking for the API endpoints and URL will appear. Fill in the textboxes, press the "Generate Key" this will be used as a header response on your endpoints and then press the "Scan Products" button to start the import of your products
You will see a notification in the lower right corner indicating that the process is running, wait until you see the notification change to "first time load complete". After it finishes you can view your products on Click2Sync. (Note: The first time load can take a considerable amount of time)
4. Now to migrate the products from one connection to the other
5. Enter to any product detail page
6. Press the "Batch" button. A pop-up of Batch operations will appear. Click on the button marked as "add +" and a list will appear, select "Mirror products"
7. In the text box of "to" write the connection where you want to mirror your products, in this case select "Zen Cart"
8. Click on the "Batch" button to start the batch operation of importing your products
9. A notificacion will appear indicating the batch process is executing
10. When the process is done a notification saying "done, your batch update has been completed" will appear
11. Finally send the pending updates to your Zen Cart instance by pressing the "Sync" button


